
What could be more heartfelt than showing gratitude to your favourite teacher through a personalised photo book?
To get you going, we’ve curated a list of the loveliest and easiest to create Thank You Teacher photo book designs. These will melt their hearts and are the perfect way to say your goodbyes on the last day of school. For the ideal present pairing, remember to include a personalised Thank You card.
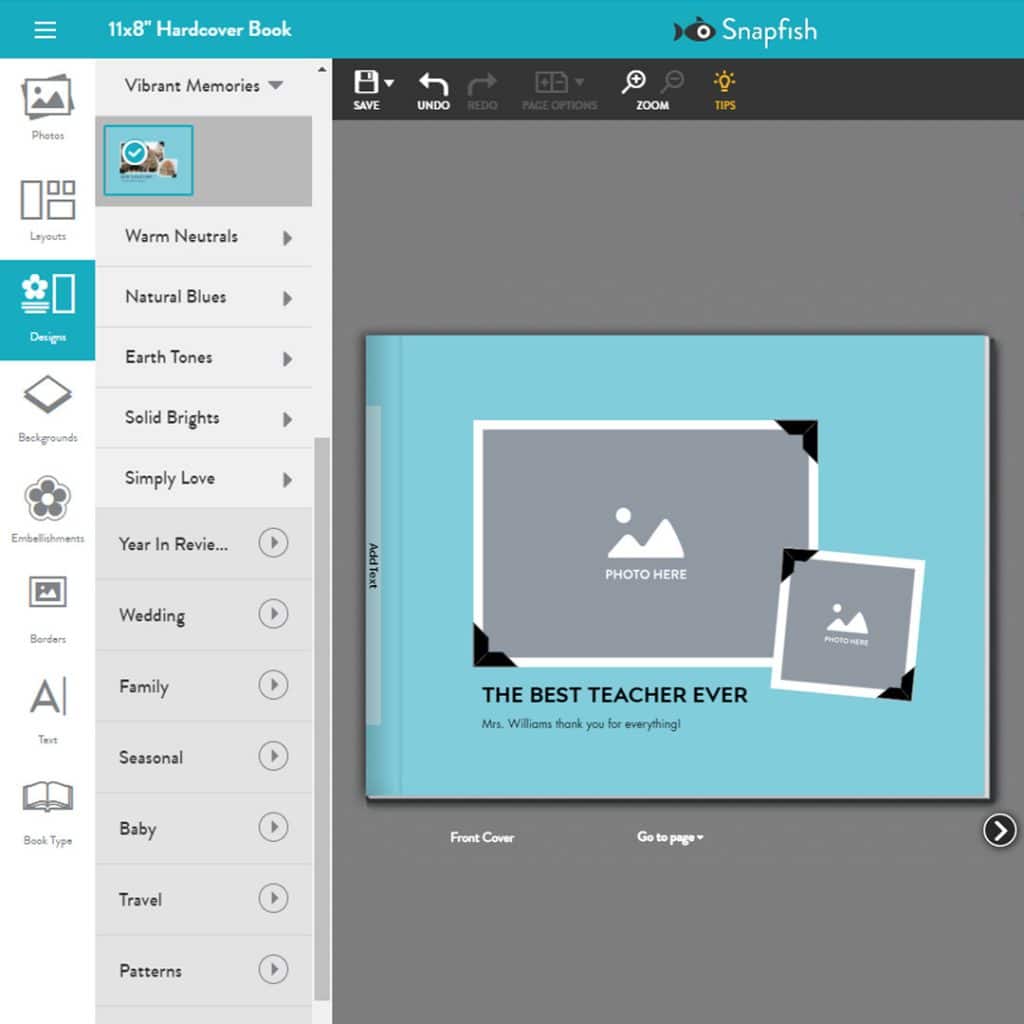
Step 1: Choose The Perfect Photo Book Design For Teacher
Choose one of our personalised Teacher photo book designs.
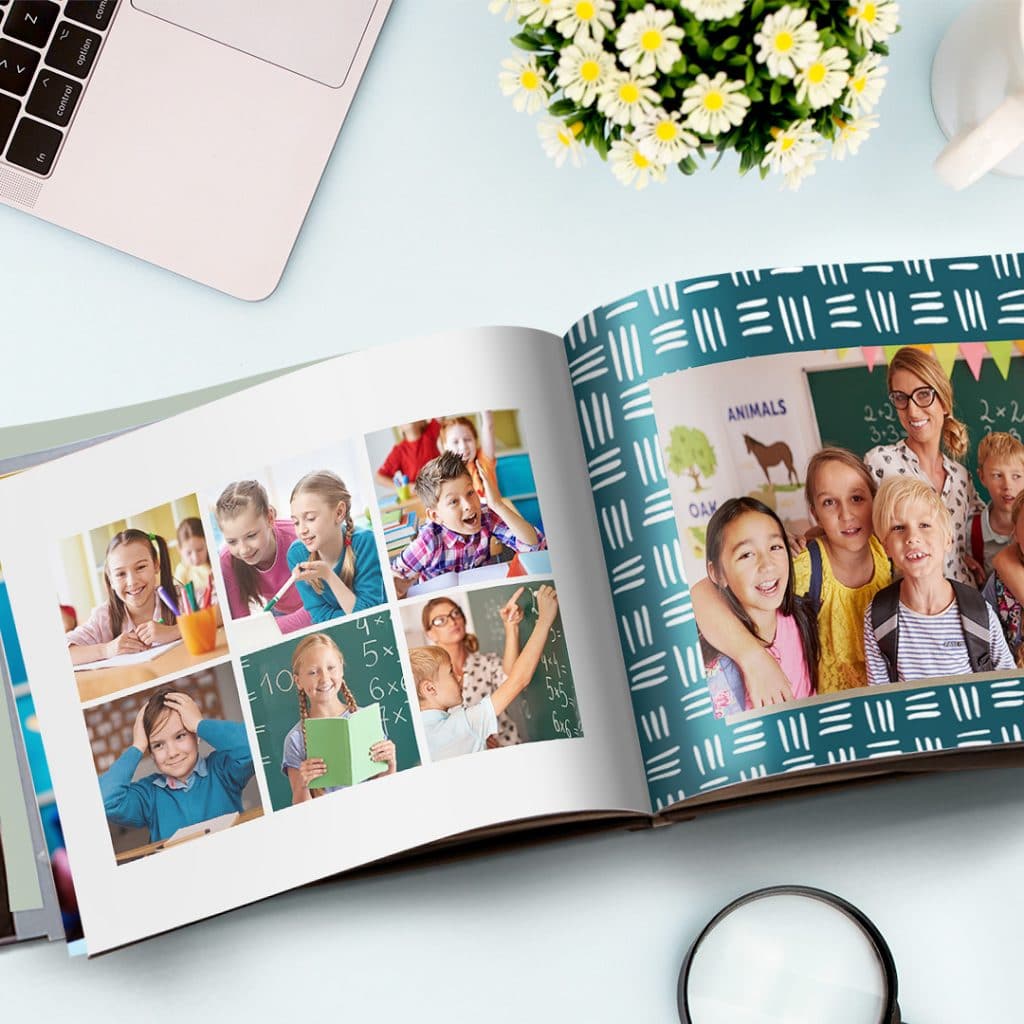
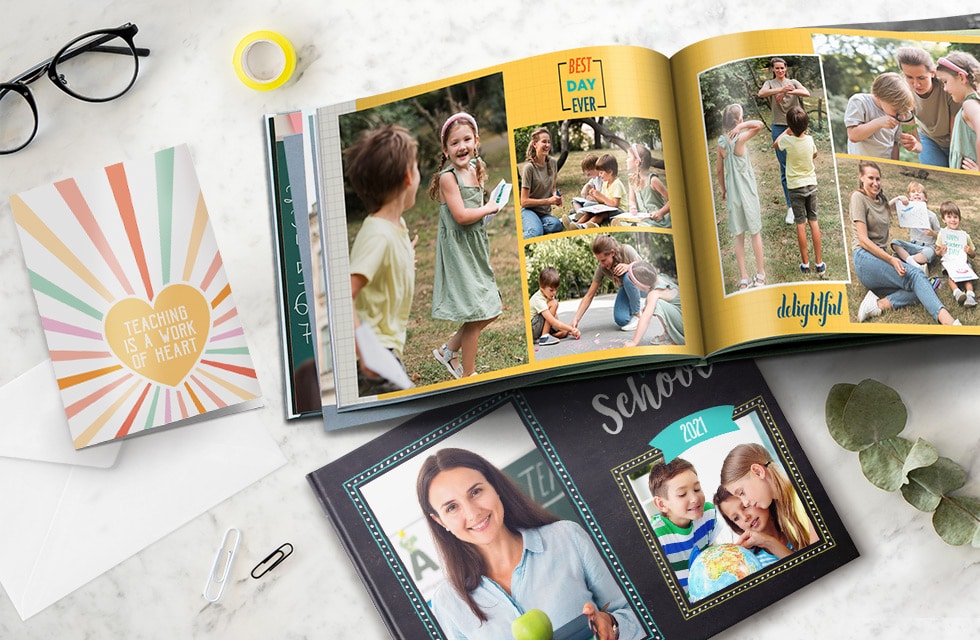
Create a collage photo book showcasing special teacher and classmate moments throughout the year.
Create a compilation of pupil pictures with their individual messages of best wishes to the teacher.
The text style can be changed to suit each pupil’s picture and comment.

Showcase pictures of your fun school events such as school plays, school trips and other fun moments.
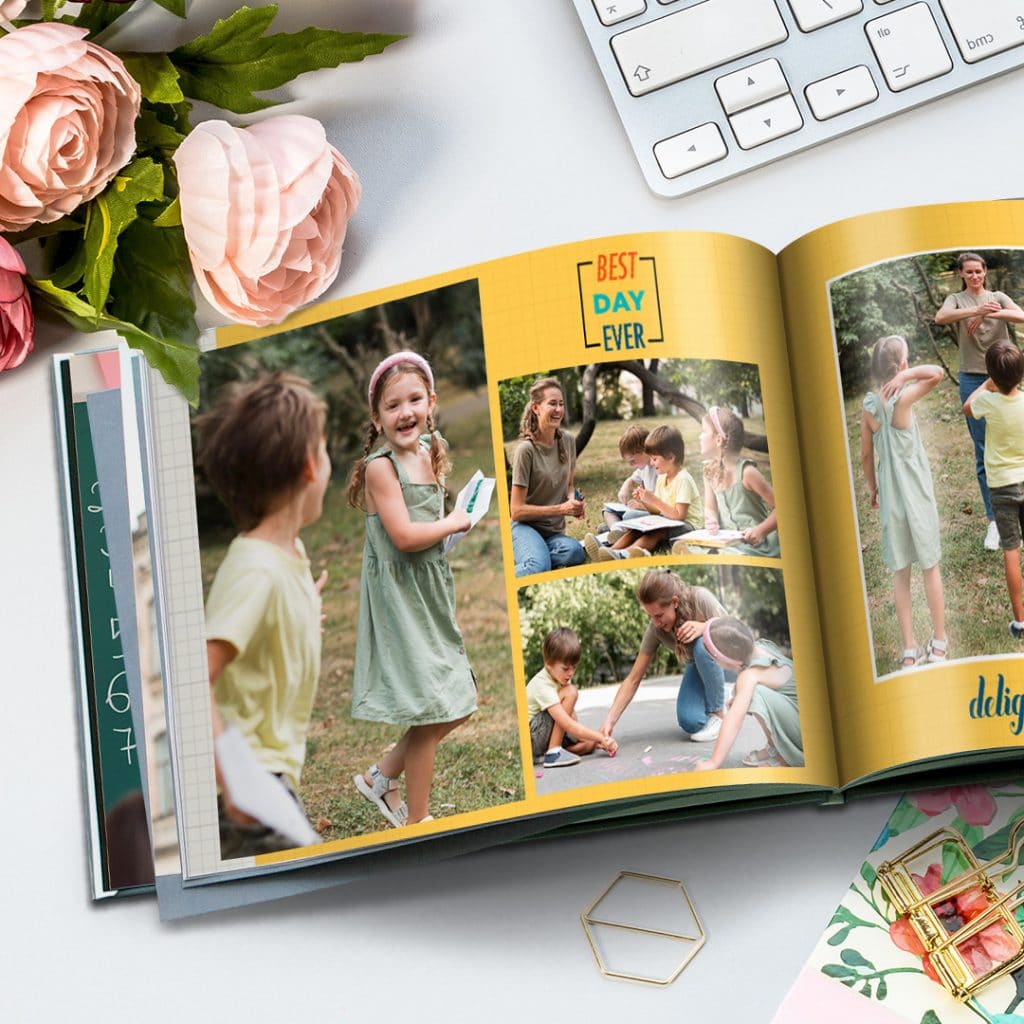
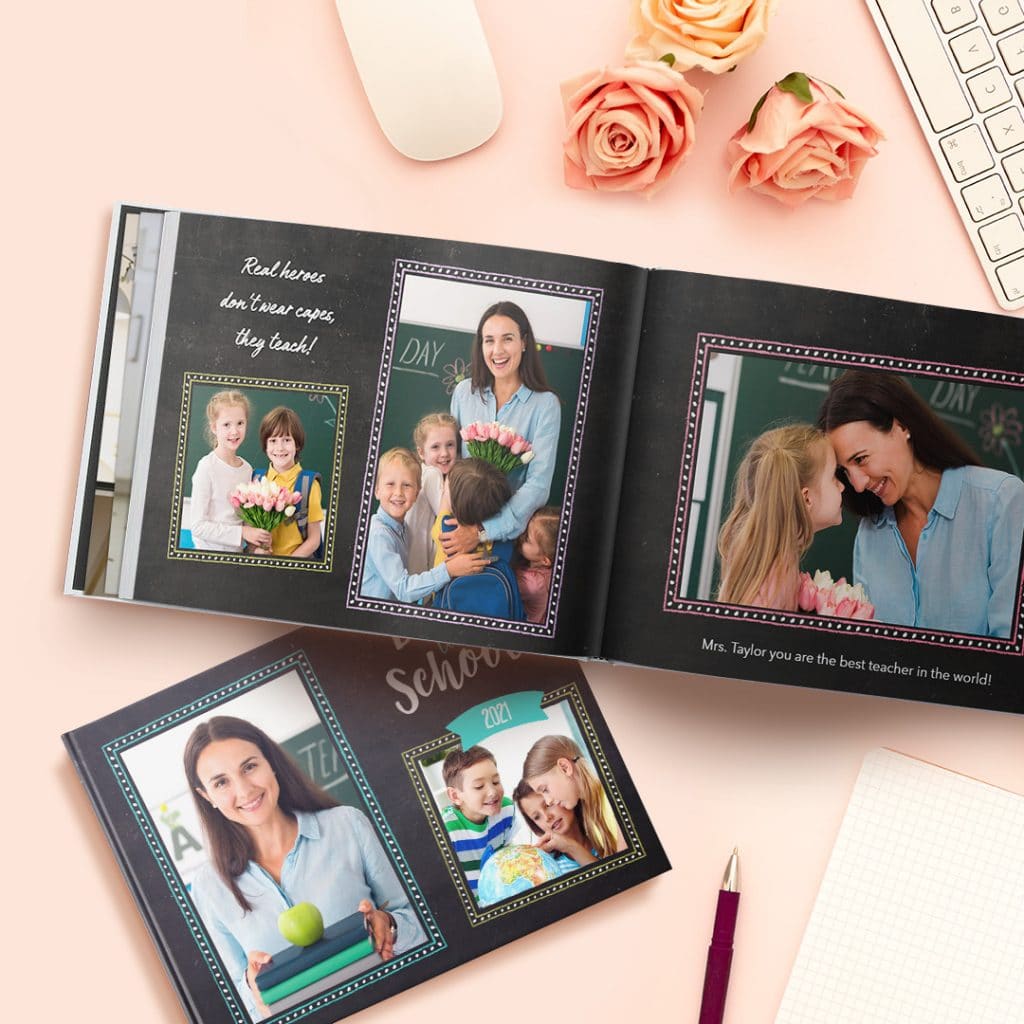
Place your photos against bold colour backgrounds to make your favourite Teacher memories pop.
This design is ideal when adding a smaller selection of different photos (so you can change the size and layout).
Step 2: Select the Best Teacher Photo Book Layout For Your Photos
Decide on the best photo layouts for your book and add photos. Read our tips below to mix and match photo book layouts.
Using our intuitive photobook builder, you can easily amend the pre-defined layouts in your chosen book design using our auto shuffle functionality. By dragging, dropping and deleting your chosen photos, you will also be able to enlarge, shrink and rotate them as well.
Alter the standard picture layout, add text and also fun embellishments. Any messages from pupils can be included here along with their special pictures to make the photo book truly personal.
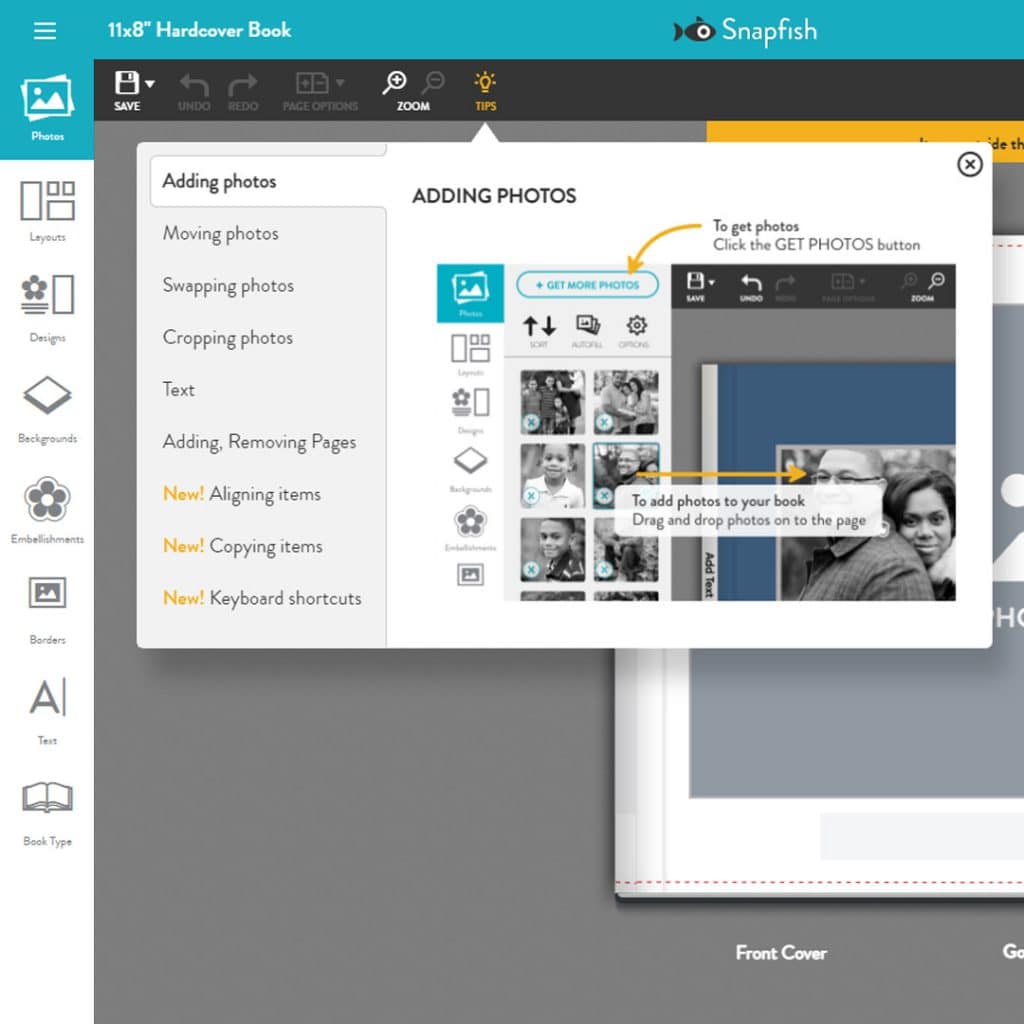
You are also able to completely delete a photo book page design or elements in the design and add your own spin to the look of your book. Changing the font and colour and also the way the text is presented is easy to do in the Snapfish Photo Book Builder. Just click on the yellow ‘Tips’ lightbulb at the top of the screen for easy to follow instructions.
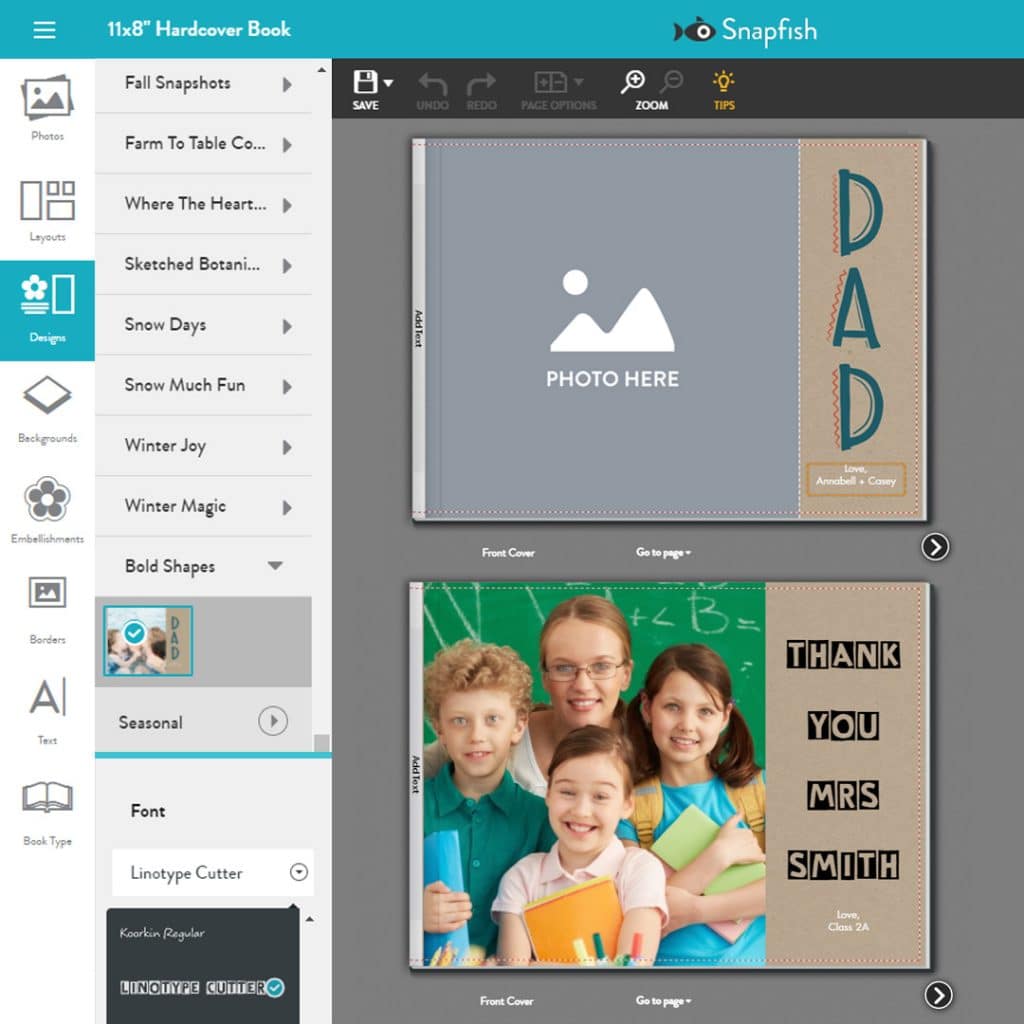
In the example above, both photo book designs have similar front covers, but the second image shows how you can customise the pre-built layout to suit your style. Here, we deleted the ‘Dad’ embellishment from the pre-built ‘Bold Shapes‘ photo book template and added a text box using the fun ‘Linotype Cutter’ font to spell out “Thank You, Mrs Smith”.
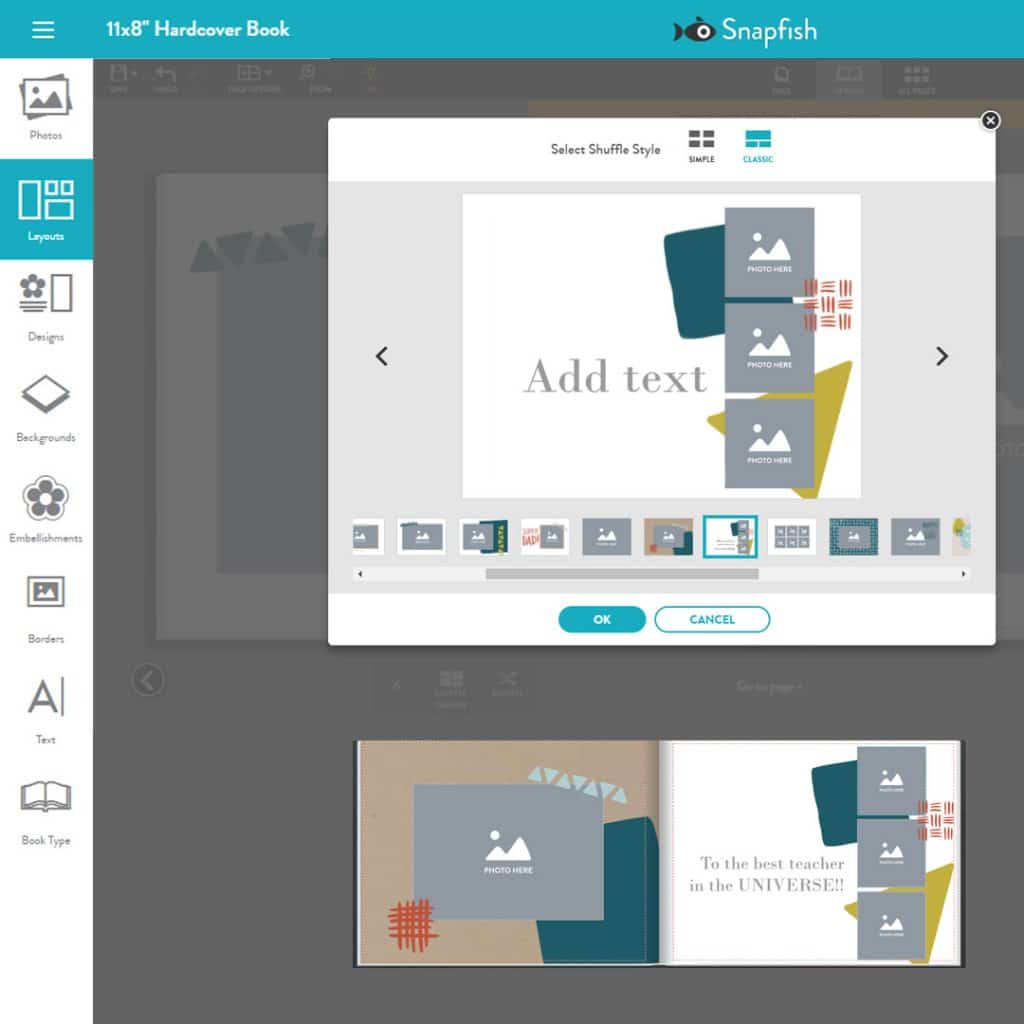
You can also swap out the photo placements in your book designs to showcase one image across the double page spread, or even just to shuffle the photo locations on the page to create more of a collage feel in your photobook.
You can change the page designs throughout your photo book, in terms of colour, layout, picture sizes and even background images. All of this can be done by clicking the ‘page option’ button at the top of the photo builder and selecting whether you want to apply the change to one or all of the pages. You can also drag and drop the pages to re-order them easily, as well as add/delete pages.
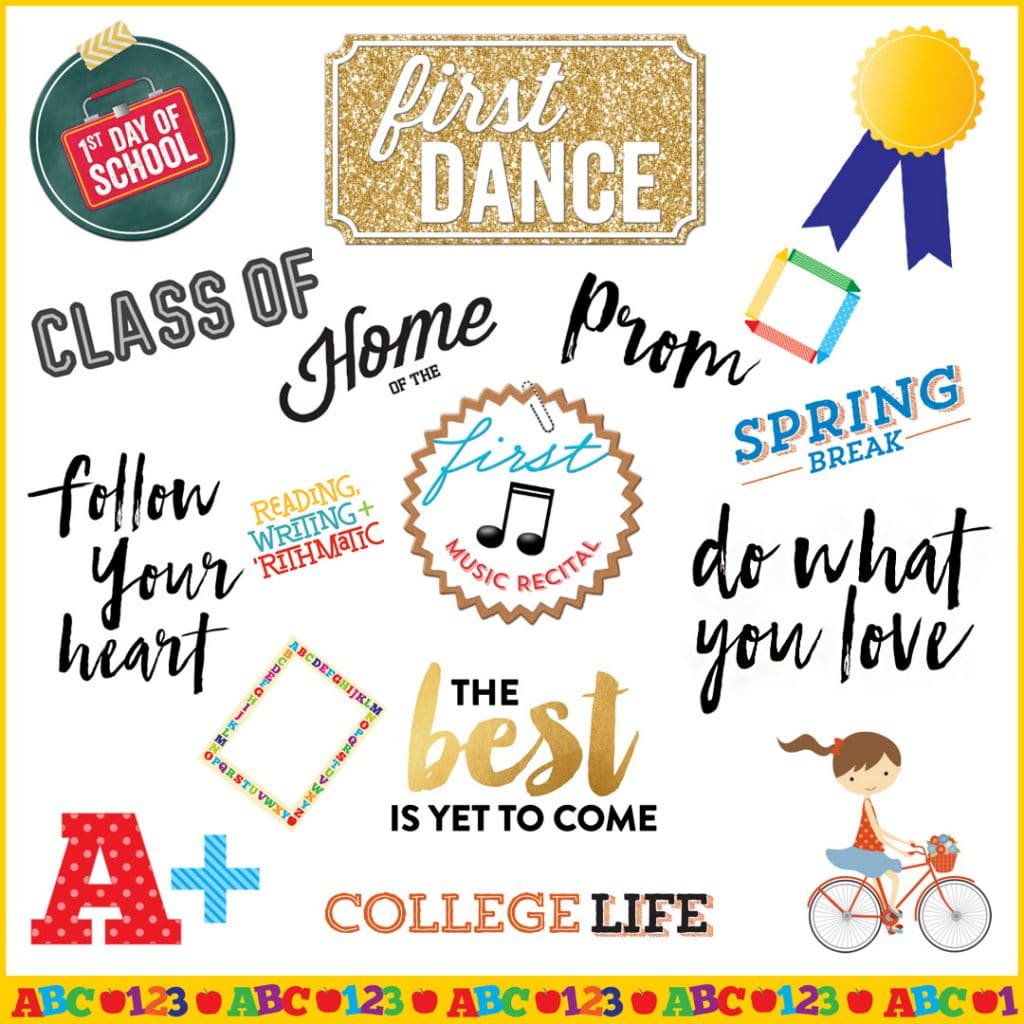
Step 3: Embellish Your Photo Book Design With Text And Clip Art Stickers
You can even add extra text and embellishments and change backgrounds to suit your style. You’ll find many of our favourite embellishments under Embellishments > School.

To find other embellishments in the image above, read on:
Embellishment> Basics> Alphabet


Embellishment> Basics > Hearts and stars


Embellishment> Basics > Phrases


Read our blog for more fun embellishment ideas and other Teacher Thank You gift ideas.
Step 4: Remember To Create A Thank You Teacher Card
Don’t forget your perfect Teacher Appreciation card, which you can make from scratch, with or without photo, using our pre-built design templates.
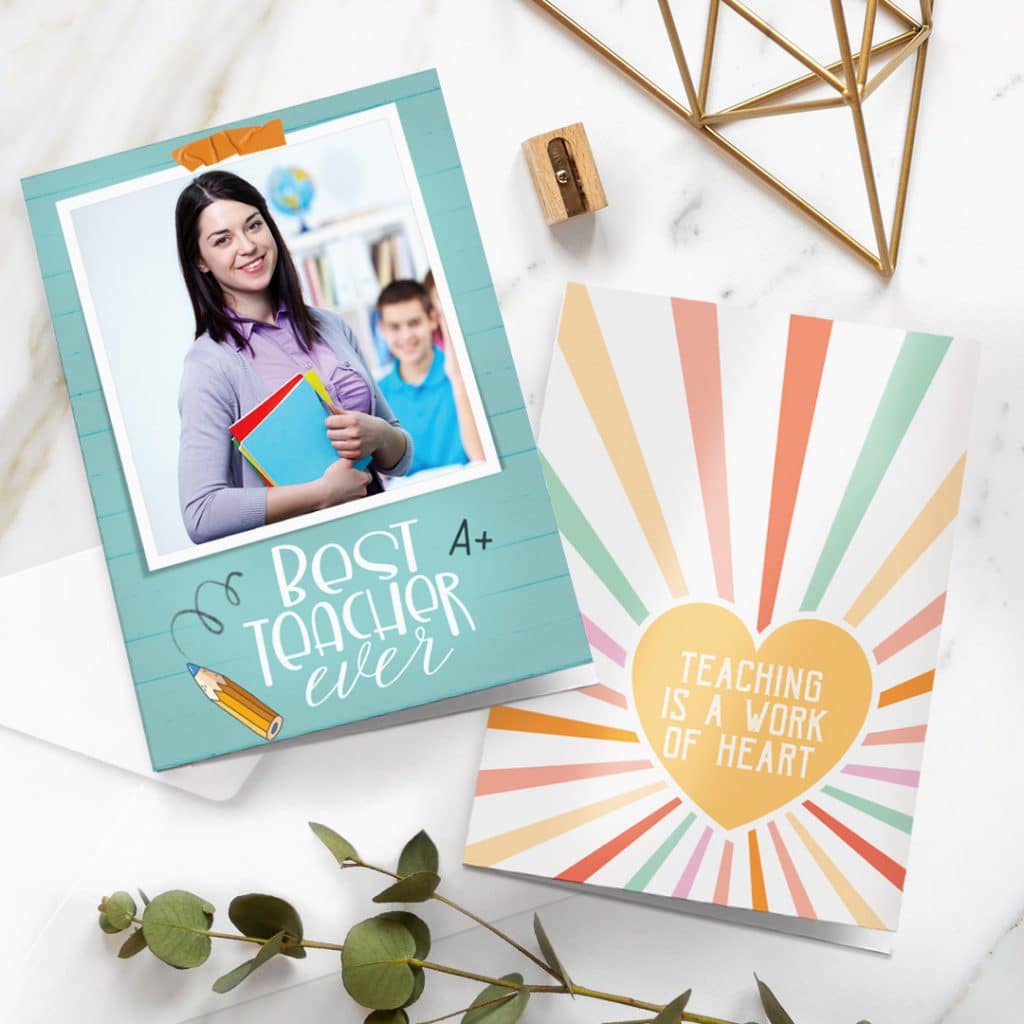
Need help crafting your card sentiment? We have you covered on how exactly to say “Thank You!”.
What did you gift your beloved teacher? Share it with us on social media! You can tag us with @snapfishuk in your photos on Instagram or Facebook or use the hashtag #snapfishuk. Don’t forget to follow us on YouTube, Twitter and Pinterest, too. Check out the Snapfish site for even more gift ideas that teachers will love.