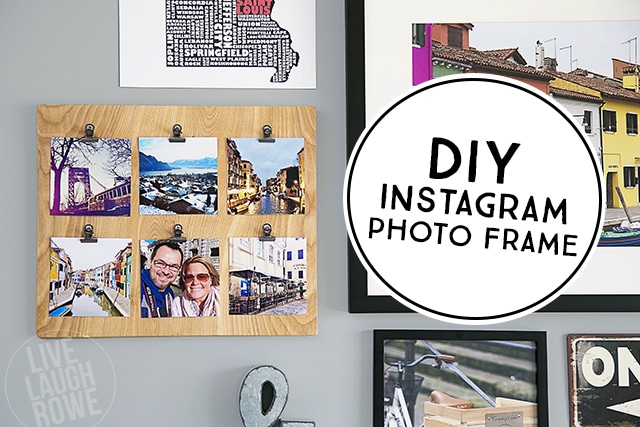
We challenged DIY bloggers to dive into the new Snapfish and bring their photos home in unexpected, beautiful ways. They totally knocked our socks off! Today, we’re sharing this amazing Instagram photo frame DIY from Kelly Rowe of Live Laugh Rowe. Get excited to make your own with her easy-to-follow instructions….we’re already on our way to the local hardware store.
Excerpt from Live Laugh Rowe:
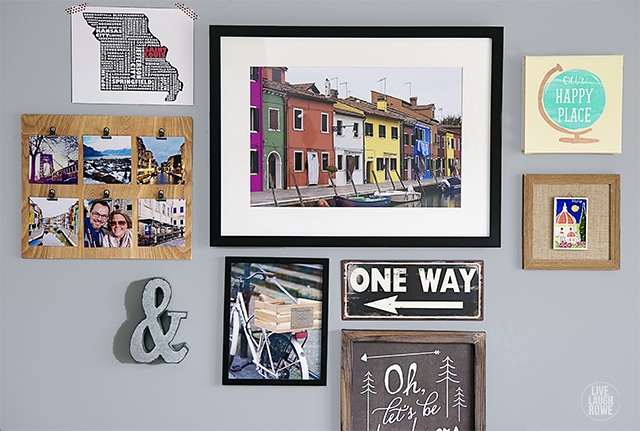
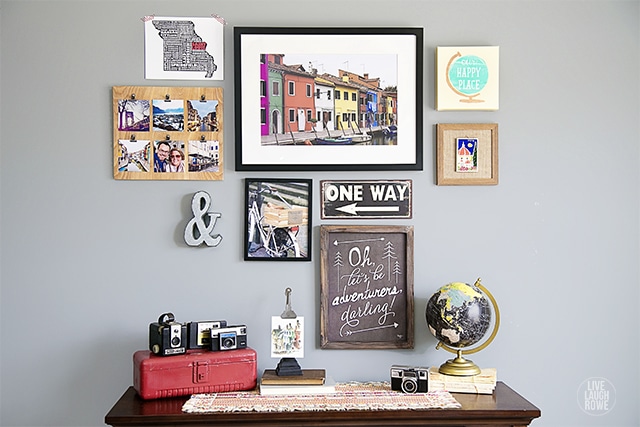
As you may or may not know, the hubs and I love to travel! I’ve shared a few of our adventures here on the blog such as St. Maarten, Newfoundland, Bermuda, Rome, Florence, and Venice. I recently decided that it would be fun to do a travel-themed gallery wall, using pictures from our travels along with other pieces that would complement them.
I decided on a few fabulous pieces: a large matted picture, a tabletop frame, a square canvas, and a dozen or so of the 4×4″ prints (using pictures from my Instagram account). I wasn’t certain how I going to use the 4×4″ prints, but I knew I wanted to make a DIY Instagram photo frame of some sort. I love making my own frames/clipboards, so it only made sense to make another version using a few of my favourite things. Let’s take a quick look at how you can whip one of these up too!
Supplies for DIY Instagram Photo Frame:
- Plywood cut to 12×14″
- Polyurethane
- Rags or Brush, to apply polyurethane
- Metal Hinge Clips
- Screws
- Screwdriver
- 4×4″ prints (only available on the Snapfish UK app)
- Sawtooth hanger
Note: My board was cut and designed to fit six 4×4″ prints, so we cut it to be a 12×14″ in size. Feel free to customise your board to meet your needs.
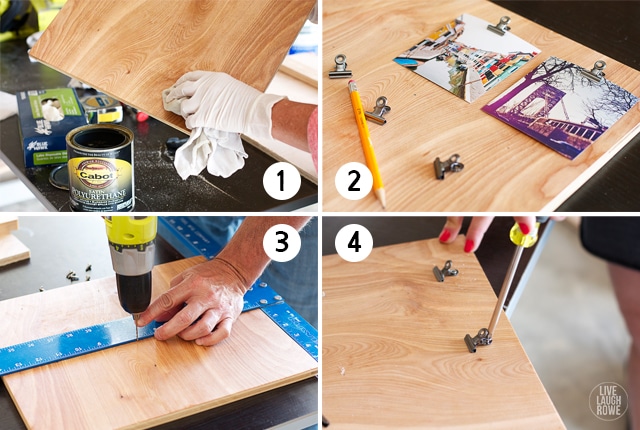
Step 1: Poly or stain the board. Make sure board has been sanded around the edges and on each side, if necessary. You could easily stain your board; however, I decided to keep the wood more of a raw, natural colour and applied a couple coats of polyurethane.
Step 2: Clip placement. Decide where you’ll be placing your pictures and clips. I decided to place mine with a horizontally-oriented board, with three pictures across in two rows.
Step 3: Drill holes.
Step 4: Attach clips and sawtooth hanger. I used flat Phillips screws (6 x 1/2) to attach the clips. We then attached a sawtooth hanger on the back to mount on the wall.
Pop in your photos, and you’re good to go!
Thanks for sharing, Kelly! What a fabulous way to highlight your favourite travel ‘grams. Be sure to check out Live Laugh Rowe for the full blog post and more decoration inspiration.
All photos courtesy of Live Laugh Rowe.
Get the Snapfish App on all your mobile devices:
- Available on the App Store
- Available on Google Play
- Available on Windows Store
Originally posted on Snapfish US
Don’t forget to tag your photo stories on Facebook, Instagram or Pinterest with @snapfishIE and #snapfishie. We love seeing what you create.


