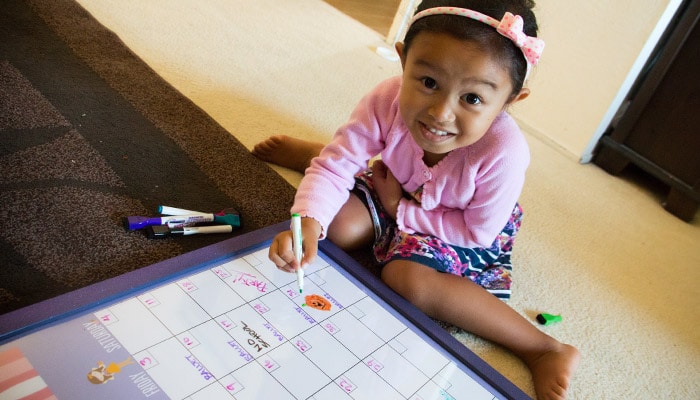
Roll up your sleeves – it’s time to DIY! Tish Reyes, our Site Producer and all-around creative superstar, joins us on the blog today to share a darling personalised calendar DIY she created to keep her little social butterfly’s activities all in one place.
My 5-year old daughter’s social calendar has exploded – surpassing mine and her father’s, trifold. We needed an easy way to keep track of all the birthday parties, school activities, after school programs, and plenty of play dates with her friends.
I also needed to start setting her expectations and help her learn the concept of time. You know how it goes… You receive a party invitation a couple of weeks out, mistakenly tell your kid she’s been invited, and then she asks you every day, for 2 weeks straight, if today is the day of the party.
(“Is it today, mum?” “No baby.” “How many more sleeps?” “Five.”)
My solution? A dry erase calendar! But I wanted a personalised one, so I created a Poster Print on Snapfish and framed it in a poster frame that will allow us to use dry erase markers on it.
Materials:
Digital photos for your calendar
Calendar grid file in .jpg format (Need one? Download here!)
Poster frame with glass cover
Dry erase markers
Optional spray paint to customise your poster frame
Select a portrait 20×30″ Poster Print and add the photos to your project, including the calendar grid you downloaded. Place the calendar grid where you want it to appear on the poster. Add the days of the week and any other text to your poster. Don’t forget an area to write in the month!
I asked my daughter to pick her colours and the embellishments she wanted to use. I laid it out into our project. It was fun sitting with her and getting her thoughts. It’ll hang in her room after all. Our end result came out fantastic and this was so much fun and easy to make. Here are some tips!
1. Start with a blank canvas
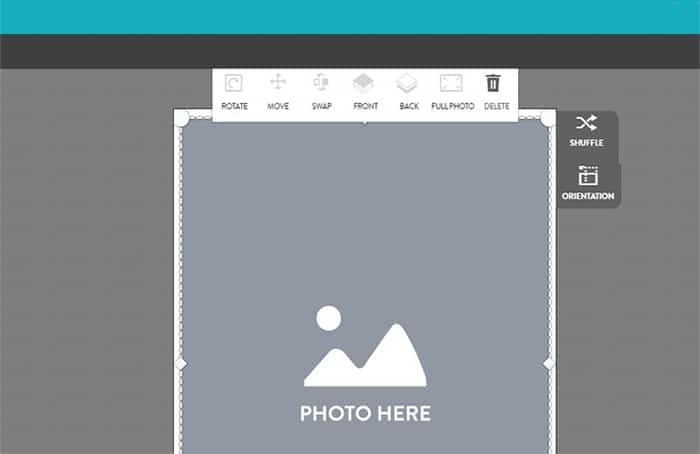
When you first start your project delete the full photo image from the canvas by clicking on the shuffle button, and then the delete icon on the toolbar. You can keep the full photo if that is what you want for your background.
2. Pick your theme
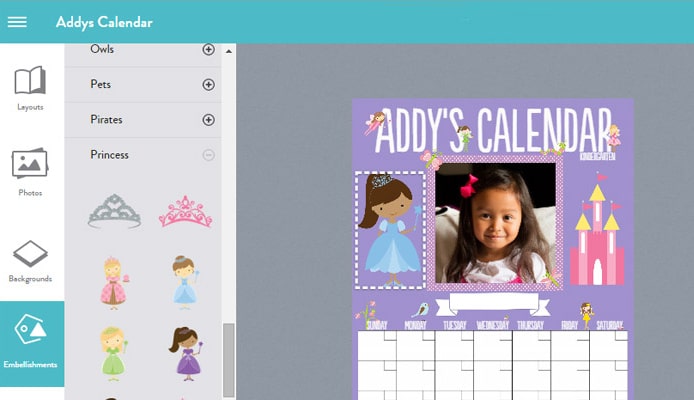
Trucks, princesses, or sports? There is a ton of themes to choose from. Check out all of the embellishments by clicking on the “Embellishments” button in the left toolbar. Note: This is a good time to pick your background colour too!
3. Create with layers
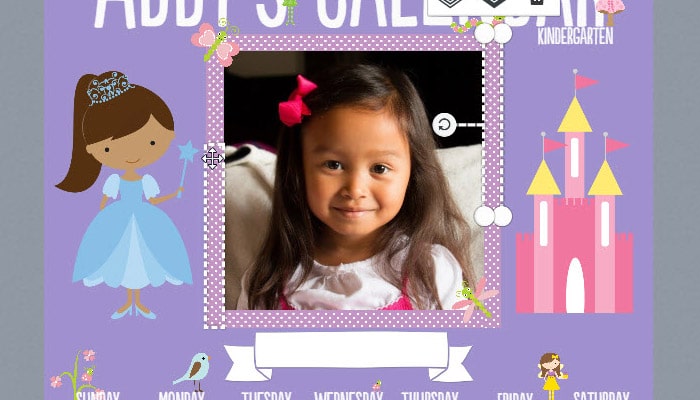
Take advantage of layers. Have embellishment layer on top of other elements in your project. For this project I placed tiny fairies on top of my daughter’s name. Control the layers with the layer button on each element to bring forward or send back. Play with layers to make things visually interesting.
4. Use embellishments to border your image
There are several frame embellishments to choose from, but don’t limit yourself to those. Create your own frames using the washi tapes or the ribbons. Just use several of them to border your photos. Try it with other embellishments too!
5. Frame and hang
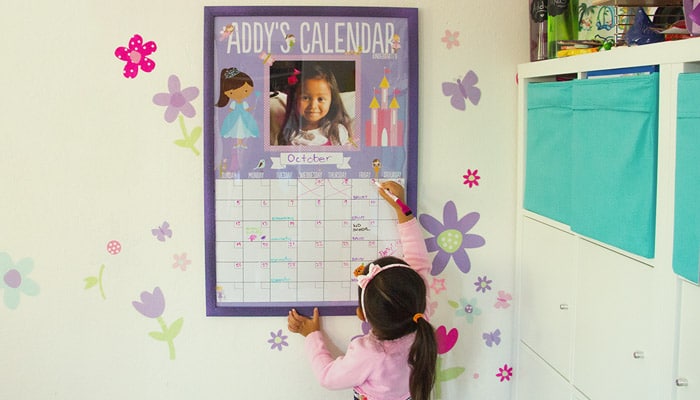
Frame your finished product in a poster frame. I like poster frames because they are light weight, it’s easy to replace the image inside, and they are pretty cheap. This frame is from a local craft store. I also picked up some purple sparkly spray paint to paint it so it matches the poster.
Now we have a calendar to track a month of activities. My daughter can practice writing her numbers, cross out the days that have passed, and most importantly count how many days (not “sleeps”) until her next big party.
Originally published by Snapfish US
We love seeing what you come up with! Please tag us with @snapfishie in your photos on Instagram or Facebook or use the hashtag #snapfishie. Don’t forget to follow us on YouTube and Pinterest, too. We love seeing what you create.


