Introducing New Snapfish Photo Wall Tiles.
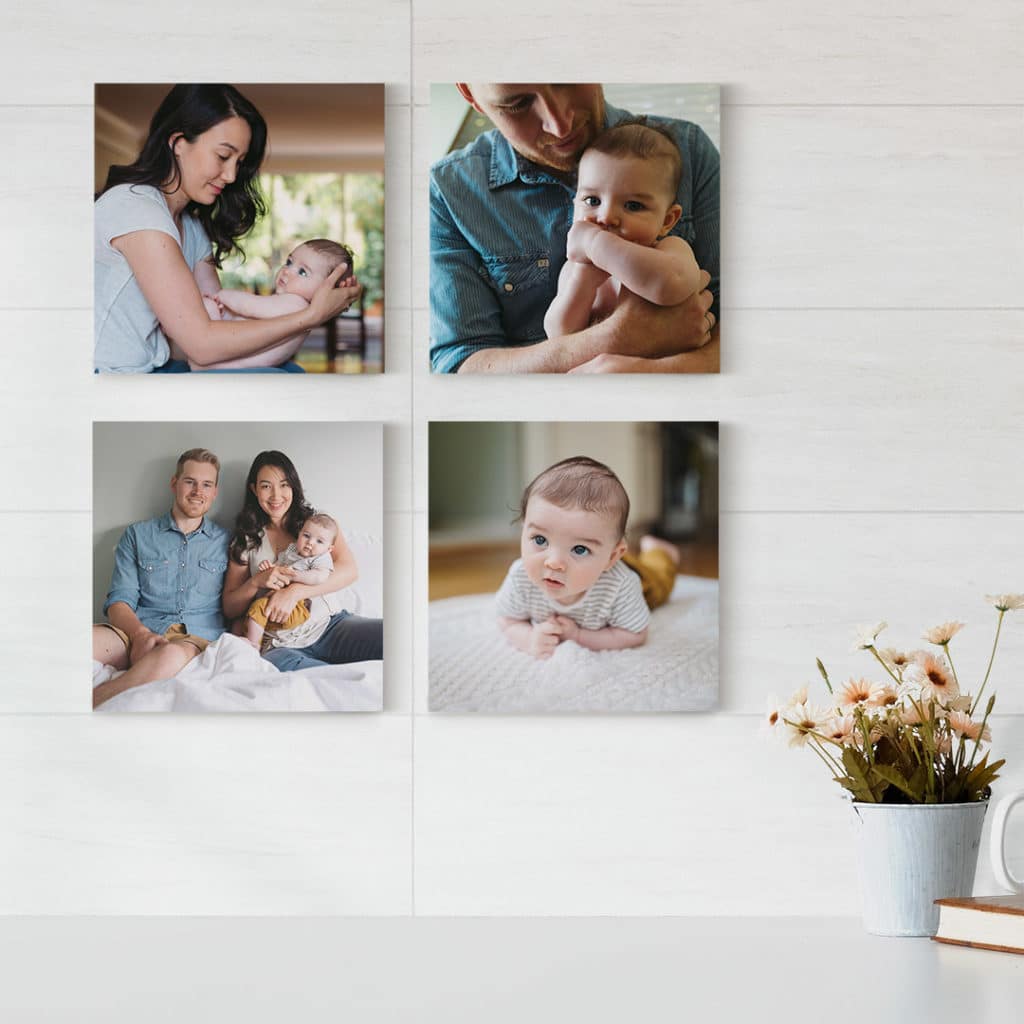
Our new lightweight Photo Tiles are ideal for a hassle-free way to hang your wall art without the need for nails, hooks, or even any tools!
This means it’s easier than ever to display your favourite moments without marking or damaging your walls (making these panels perfect for renters and students as well as proud house-owners)!
These custom-printed stick-on picture tiles introduce a fresh new approach to hanging your photos so that you can keep adding, changing, and re-arranging your wall art. Read on for our top tips on how to create, use and plan out your new stunning photo tile project.
What Are Photo Tiles?
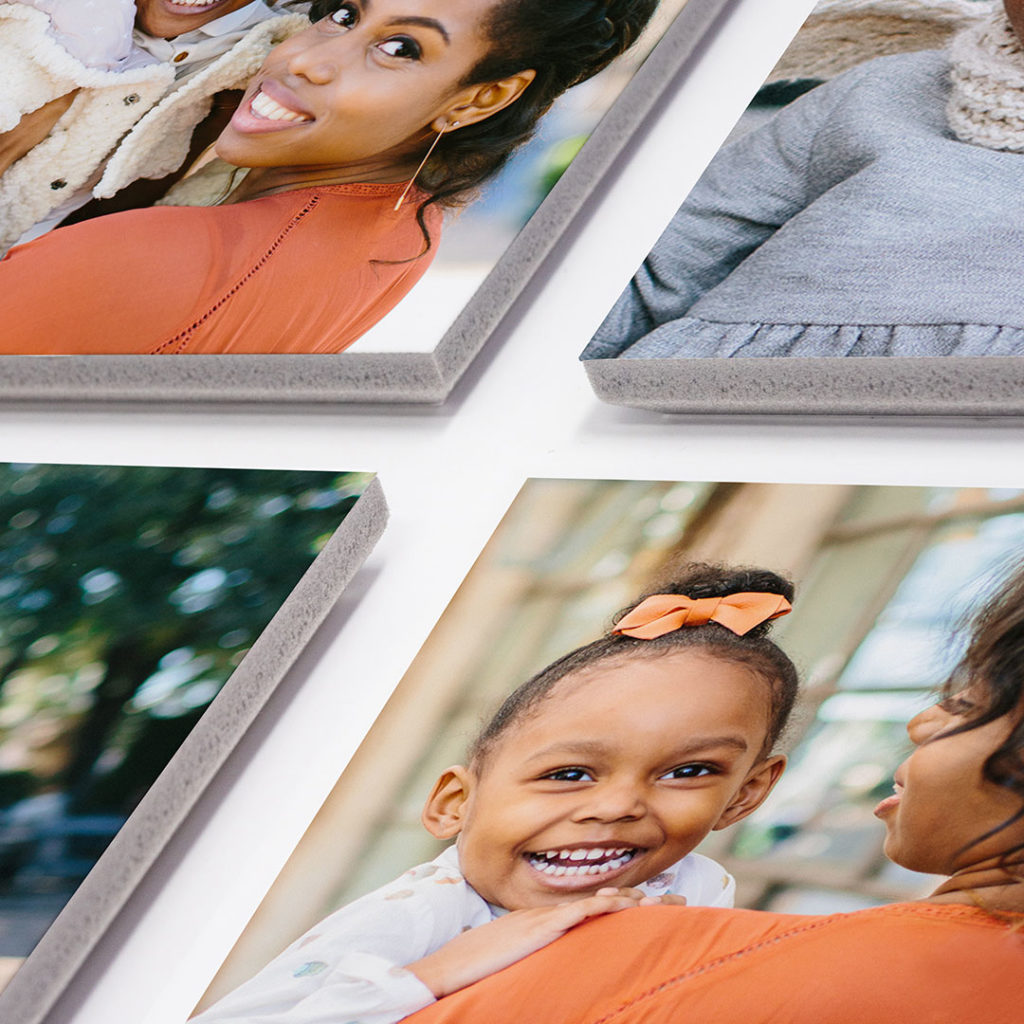
Photo tiles are custom-printed stick-on picture tiles that make creating your own personalised gallery wall fun. The Snapfish Photo Tiles product makes it easy to transform favourite memories into gorgeous wall decorations that can be repositioned without any damage to your walls. These lightweight tiles are printed onto foam board to the same high-quality standard as all of the Snapfish photo products.
Once you’ve ordered your tiles from our app or site, hanging them is a doddle – just peel the backing off the adhesive tabs and stick them onto your wall wherever you think they’ll look good! If at any point you decide to change up the layout of your tiles, you can try out a whole new arrangement by removing and shuffling them around according to your mood that day!
How Do You Create Photo Tiles?
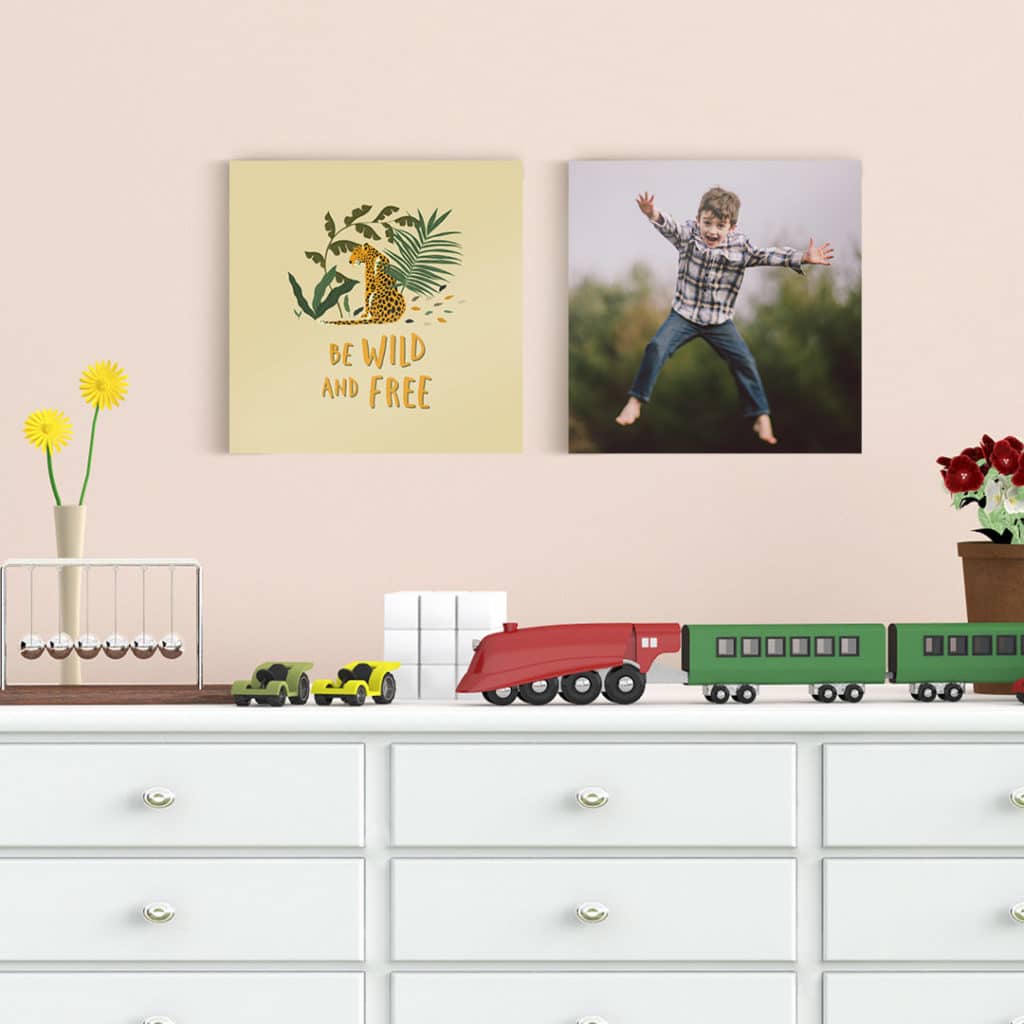
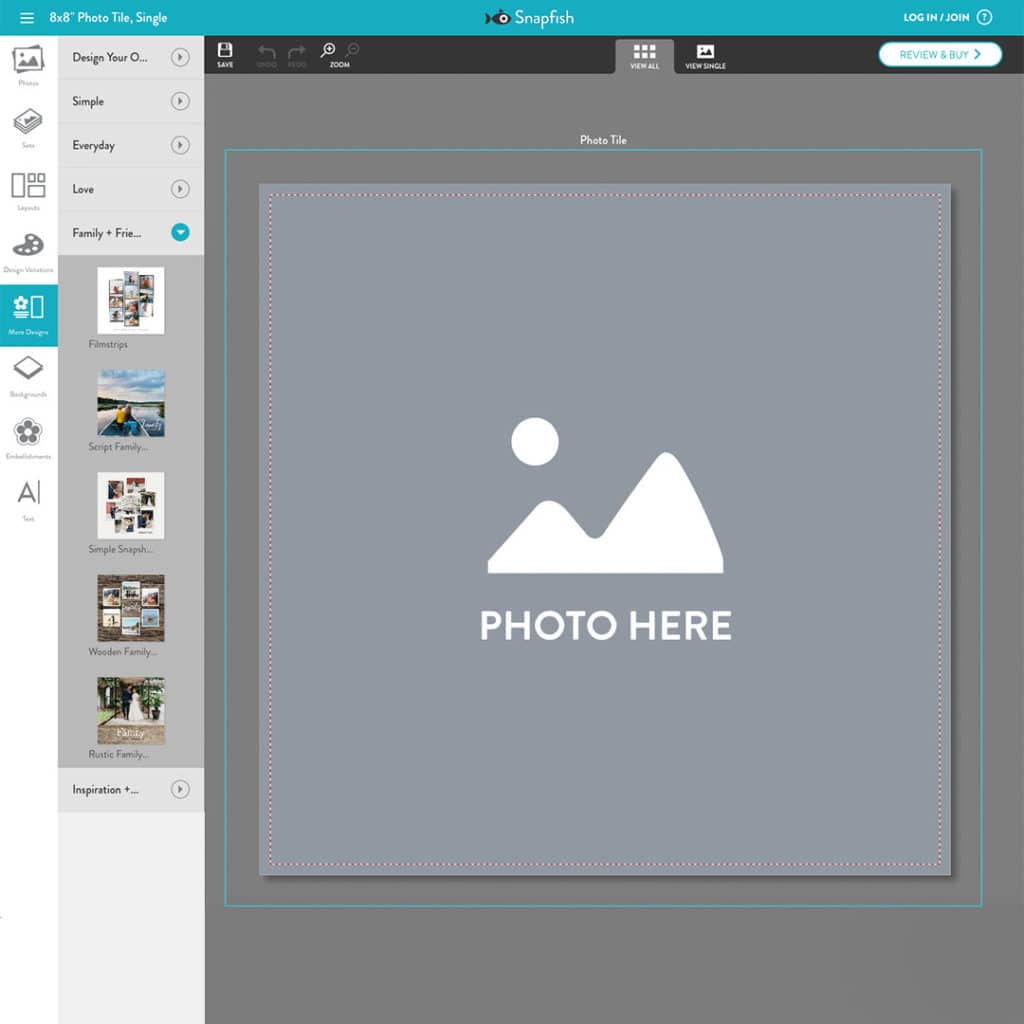
It’s easy: Upload your favourite digital images – family photos, kids’ drawings and artwork, screenshots, quotes, and even scanned photographs into Snapfish (you can use the app or the website).
In the builder, you can choose to print a full photo tile, or you can be more creative when you use our layouts, designs, backgrounds and embellishments to recreate your own unique style.
You can order multiple photo tiles at once, or add to your collection over time to create a photo wall of your favourite moments. If you don’t like the layout after a while, just take them off the wall and restick them in a new position, or replace them with newer updates. It couldn’t be easier.
Each tile is expertly printed with a quality satin finish and every photo tile you order includes everything you need for a fool-proof installation for easy hanging and rearranging.
Once you receive your order, you’ll discover that photo tiles stick to your wall as easily as magnets stick to your fridge. They are so light, they can stick to surfaces with nothing but the self-adhesive tabs provided!
How To Hang Photo Tiles
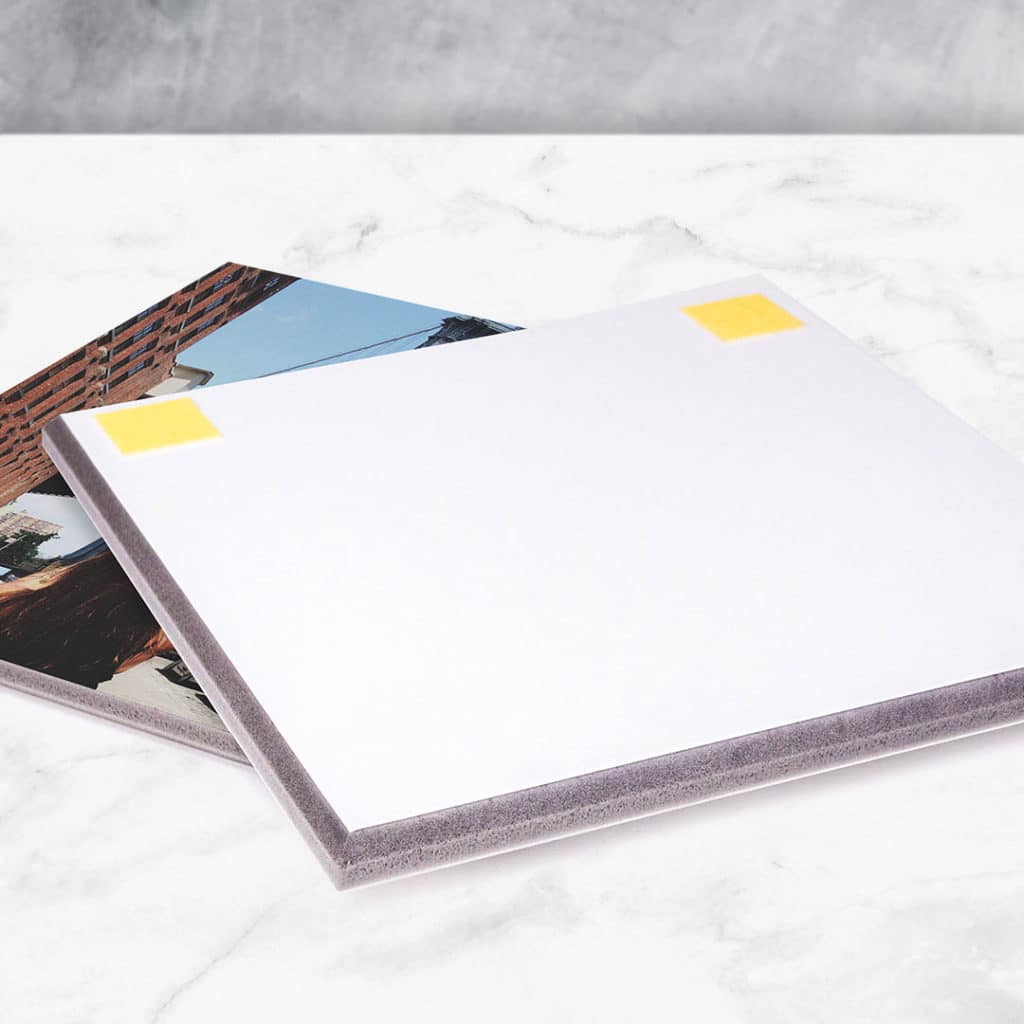
There are many places where you may want to hang a picture but can’t use nails, perhaps because you don’t want to leave large holes in the wall, can’t drill or hammer through the wall, or will be changing your pictures or their arrangement frequently. This is when it comes in handy to know how to hang nail-free photo tiles for maximum awesomeness.
For the best way to apply photo tiles to your walls, check out our 6 picture hanging tips and tricks below:
Step 1:
Experiment with different layouts on the floor before you hang your tiles.
This gives you a sneak preview of how the various images look next to each other and allows you to decide whether you like what you see. If a tile doesn’t look right in one position, simply move it somewhere else.
Step 2:
Use a tape measure or ruler to keep the spacing of your tiles uniform.
Try out different spacings until you find the one that works best for your display wall. Then, use a tape measure or ruler and a pencil to mark the approximate areas where you will be placing your photo tiles.
Or if you are feeling confident, you could always just eyeball it and make necessary adjustments as you go.
Step 3:
Remove the backing from the adhesive tabs. Just peel it off like you would a sticker. You are now ready to add your first tile to the wall!
Step 4:
Using your hands, apply light, even pressure to the face of the photo tile.
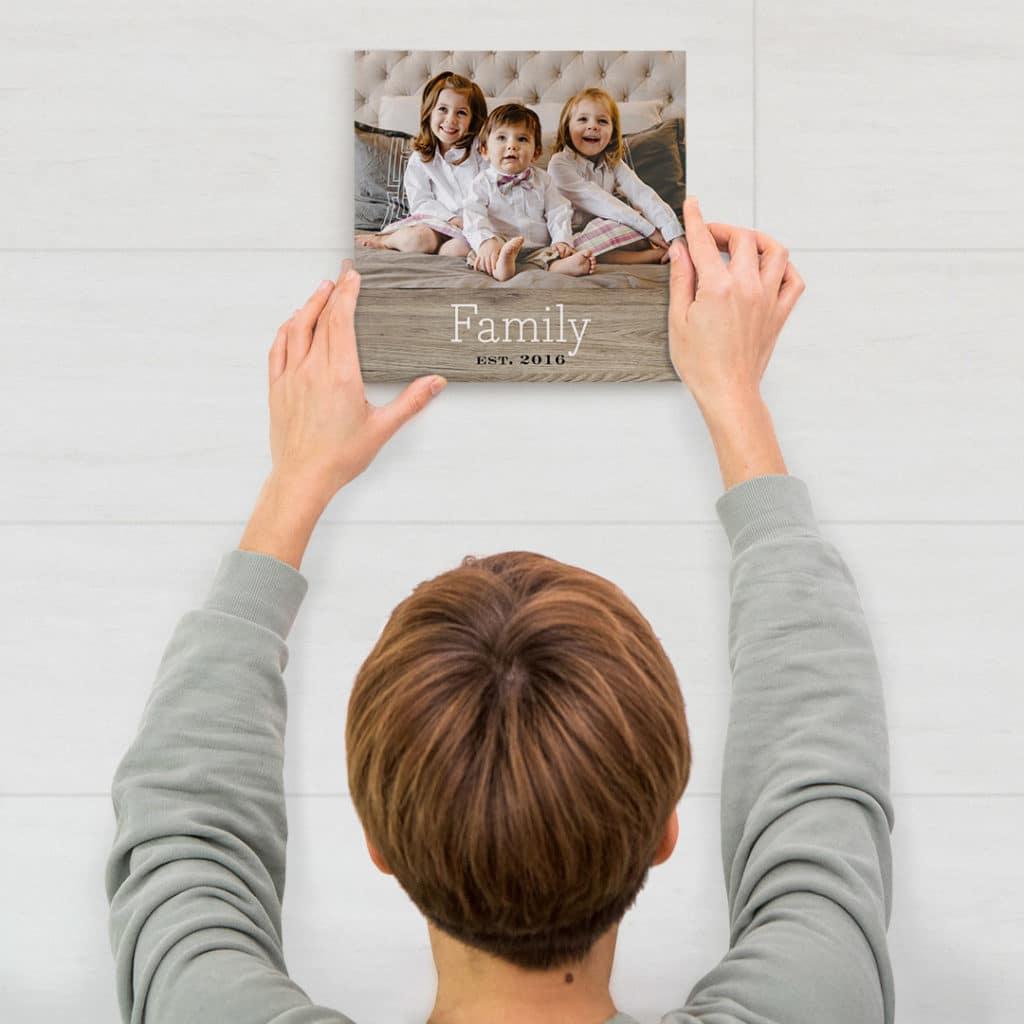
Take a moment to double-check that the tile is level, properly spaced and aligned. When you’re happy with its placement, apply light, even pressure to the face of the product. This should allow your photo tile to properly stick to the wall.
Step 5:
To remove the photo tile from your wall, lift evenly from the bottom of the tile.
When you’re ready to remove them, take hold of the bottom edge of the tile and lift away from the wall at a slight angle.
Step 6:
Reuse your photo tiles with ease. After removing your photo tiles from one spot, it takes just as little time to move them to another location. Try not to let the adhesive tape come into contact with dust, dirt, liquids, oil from your skin, or any other substances that might inhibit their ability to stay put.
Display Ideas
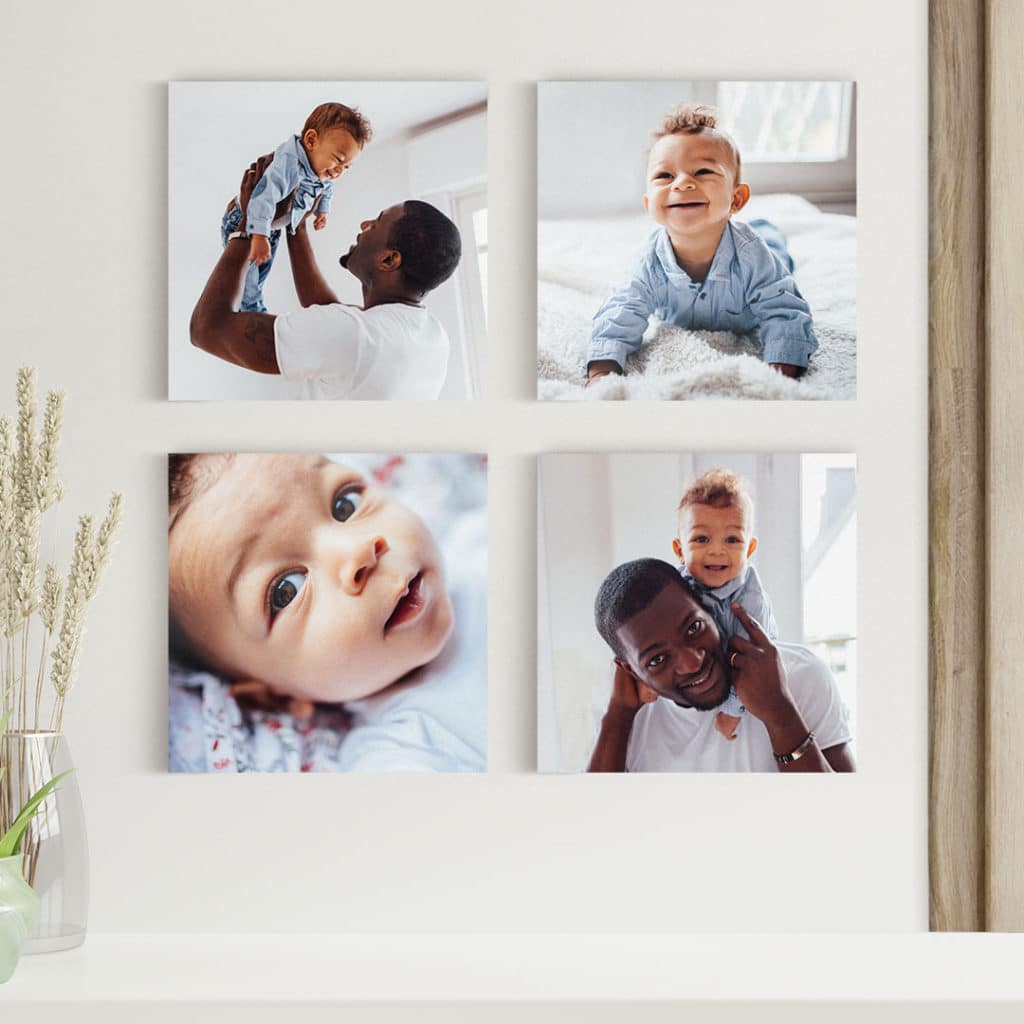
Before you pick out an open section of the wall to display your new photo tiles, ensure the surface is clean, dry, and free of any debris. Photo tiles are not recommended for surfaces such as wallpaper or highly textured surfaces, such as brick. They are also not recommended in areas with direct exposure to the sun.
Look for a spot that’s spacious enough to comfortably accommodate the number of tiles you’re hanging. To draw as many eyes to your photos as possible, consider mounting them in spots where your guests’ eyes are most likely to settle, such as in the entrance hall, at the foot of the stairs, or above the sofa in the lounge.
You can arrange your photo tiles any way you like, whenever you please. A classic grid is always striking, but you can be as bold as you want! If you decide that the design’s not working for you, simply remove your tiles off the wall and they’ll be ready to go again – and again! They can be removed from any reasonably tough surface without damage. Photo tiles are the easiest solution to create gorgeous photo collage displays on your walls.
There’s no need to limit yourself to traditional display methods. Letters, diamonds, crosses, pyramids, spirals, chevrons — it’s all fair game. A gallery wall is meant to be a reflection of your own aesthetic sensibilities, so feel free to get as creative as you like. Whether you want a symmetrical, asymmetrical, diagonal or simple mismatched look, we’ve included those here!
Asymmetrical Gallery Wall
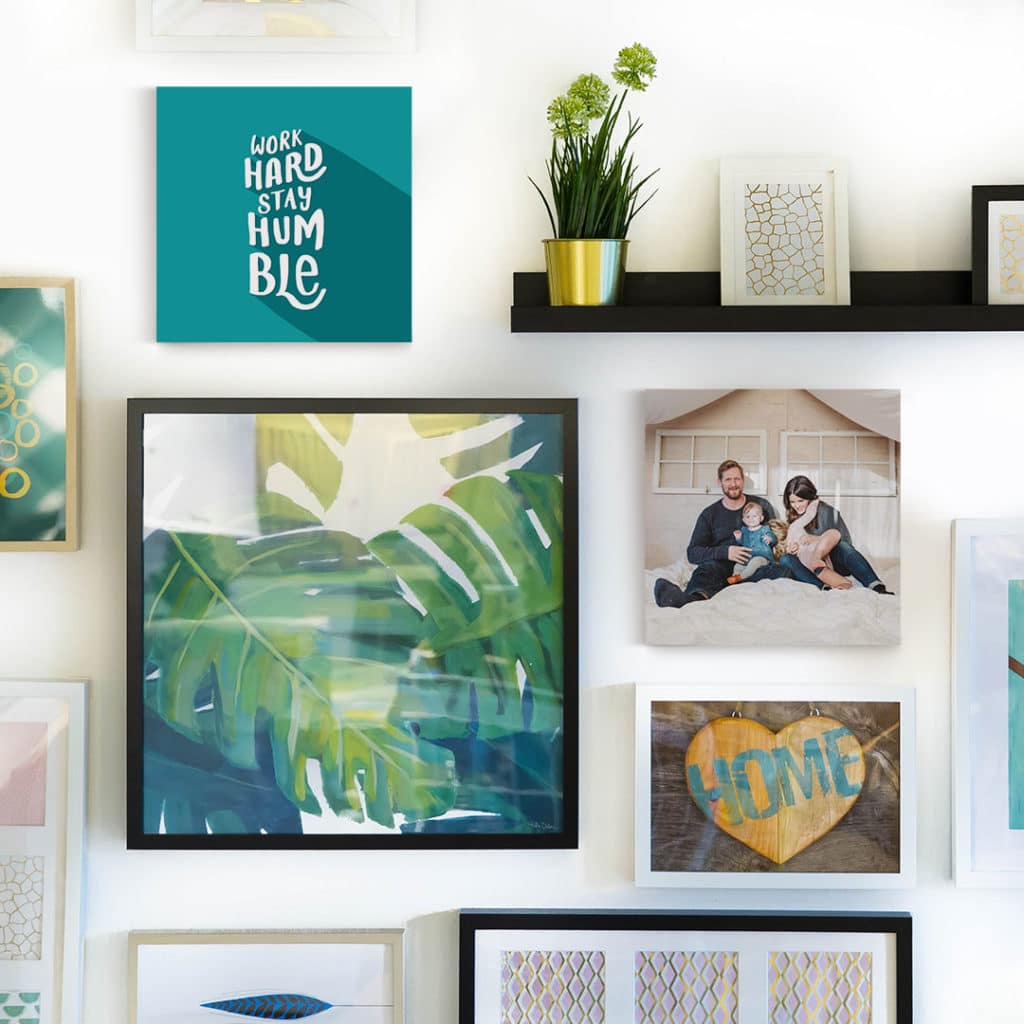
An asymmetrical gallery wall is unique and dynamic. It works for those who want to mix and match a variety of sizes and shapes. The image diversity adds depth to any room and allows for a little more creativity with bold colours and patterns.
Symmetrical Gallery Wall
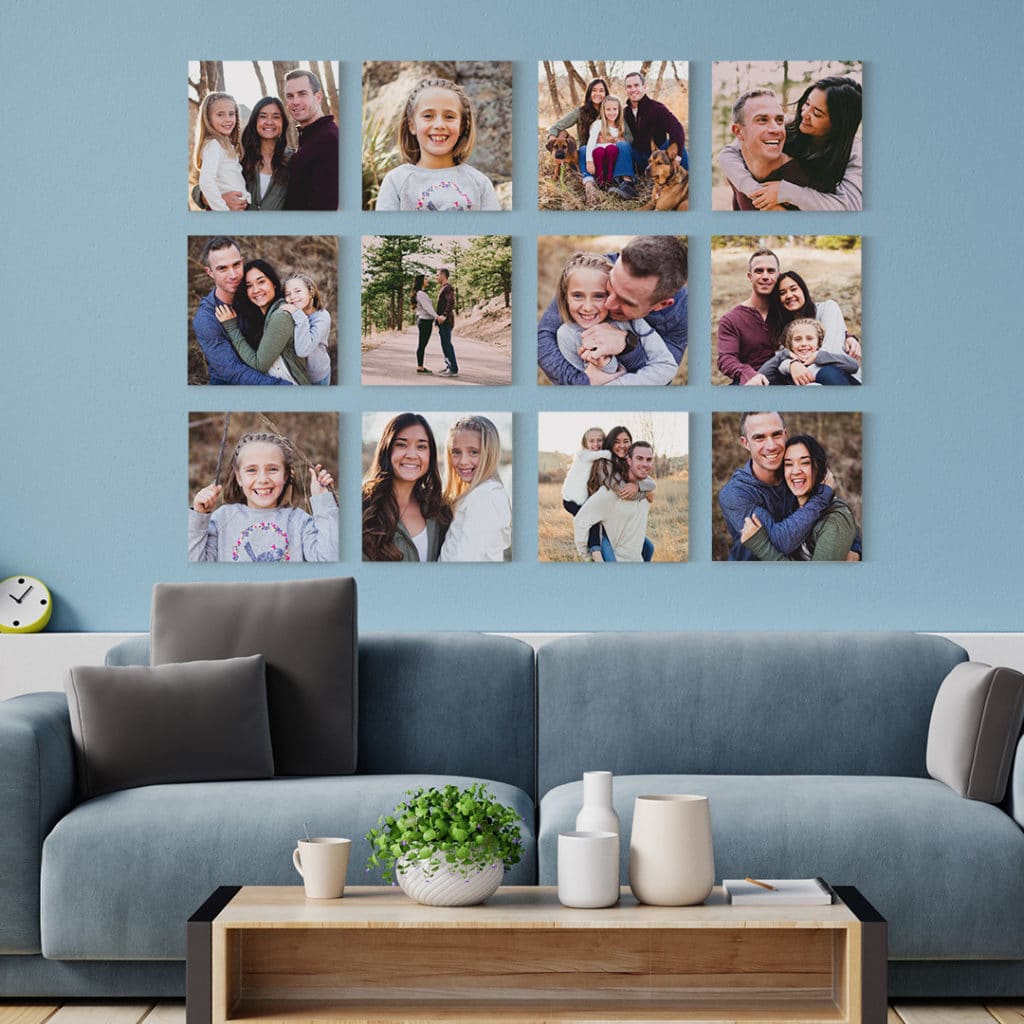
Our 20x20cm (8×8″) photo tiles make it easy to start a symmetrical gallery wall. You can choose to go from the top to the bottom of a wall or only select a small space to fill. Be sure to leave approximately 5cm (2″) between each frame for a more structured look.
Diagonal Gallery Wall
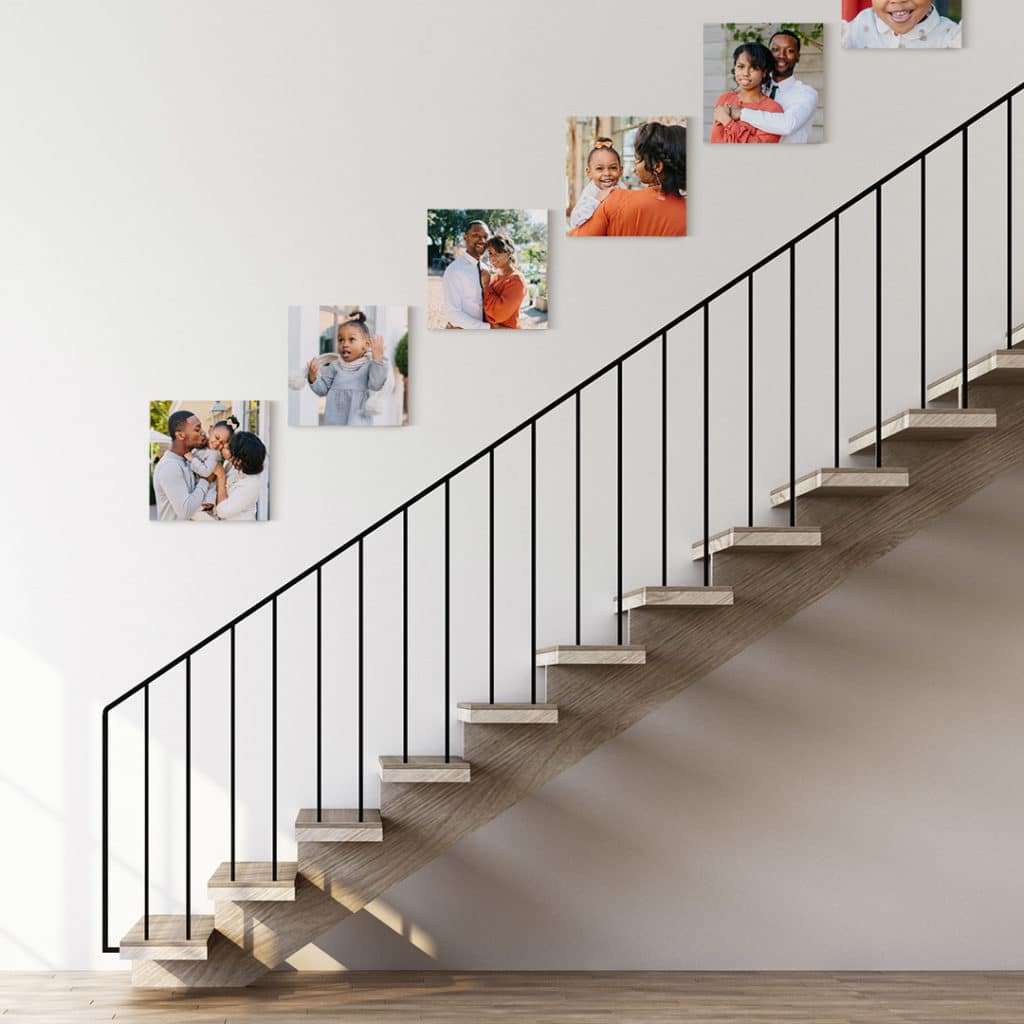
Staircase gallery walls really shine as you walk up and down each day. This great space is often overlooked but it’s got a lot of potential. Mix it up by using framed prints with photo tiles. Measuring the space here can be a little tricky because of its diagonal direction but keep in mind, balance is key and you’ll want to make sure there is a focal point, especially if you have a lot of photos.
Black And White Gallery Wall
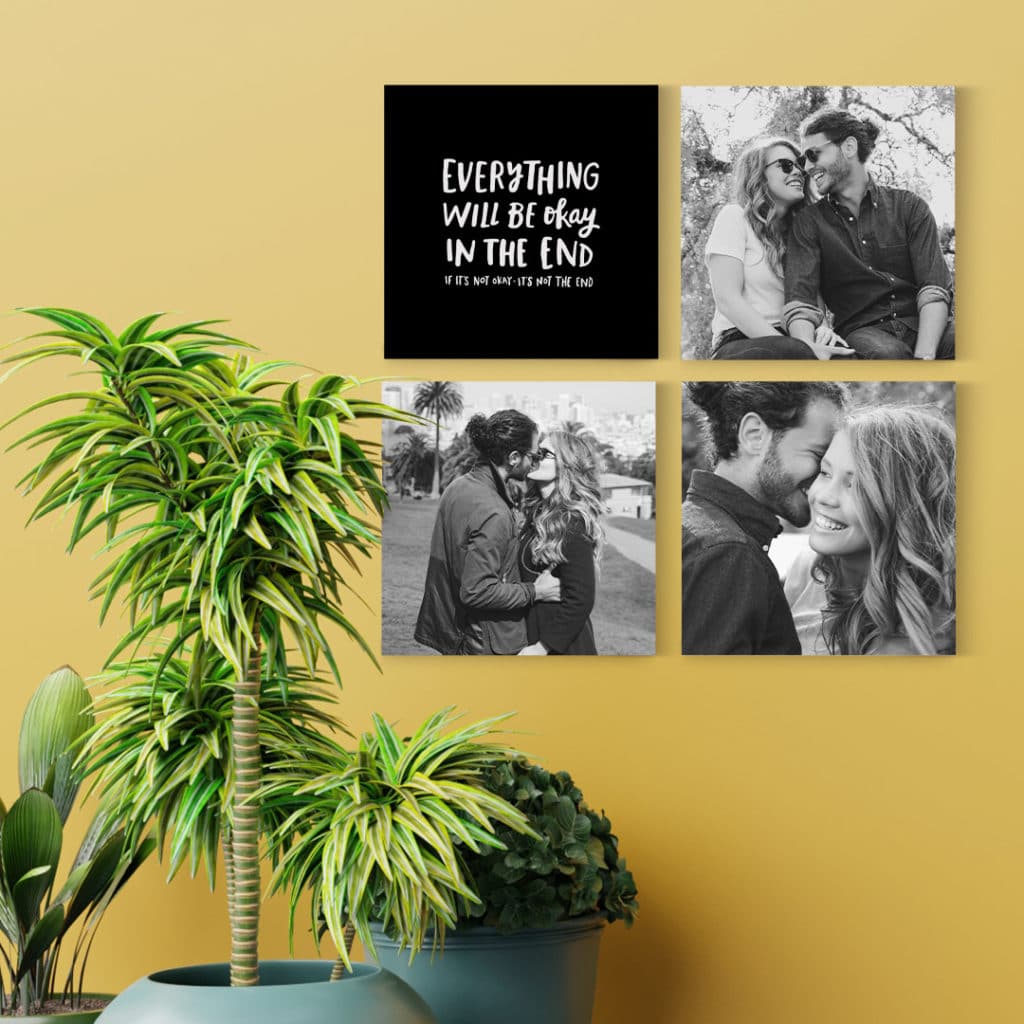
When choosing a photo wall layout, make sure the colour scheme and theme are cohesive. You can pair all black and white images together for a dramatic look and combine colourful family or wedding photos with images of plants or flowers to break up the portraits.
Simple Gallery Wall
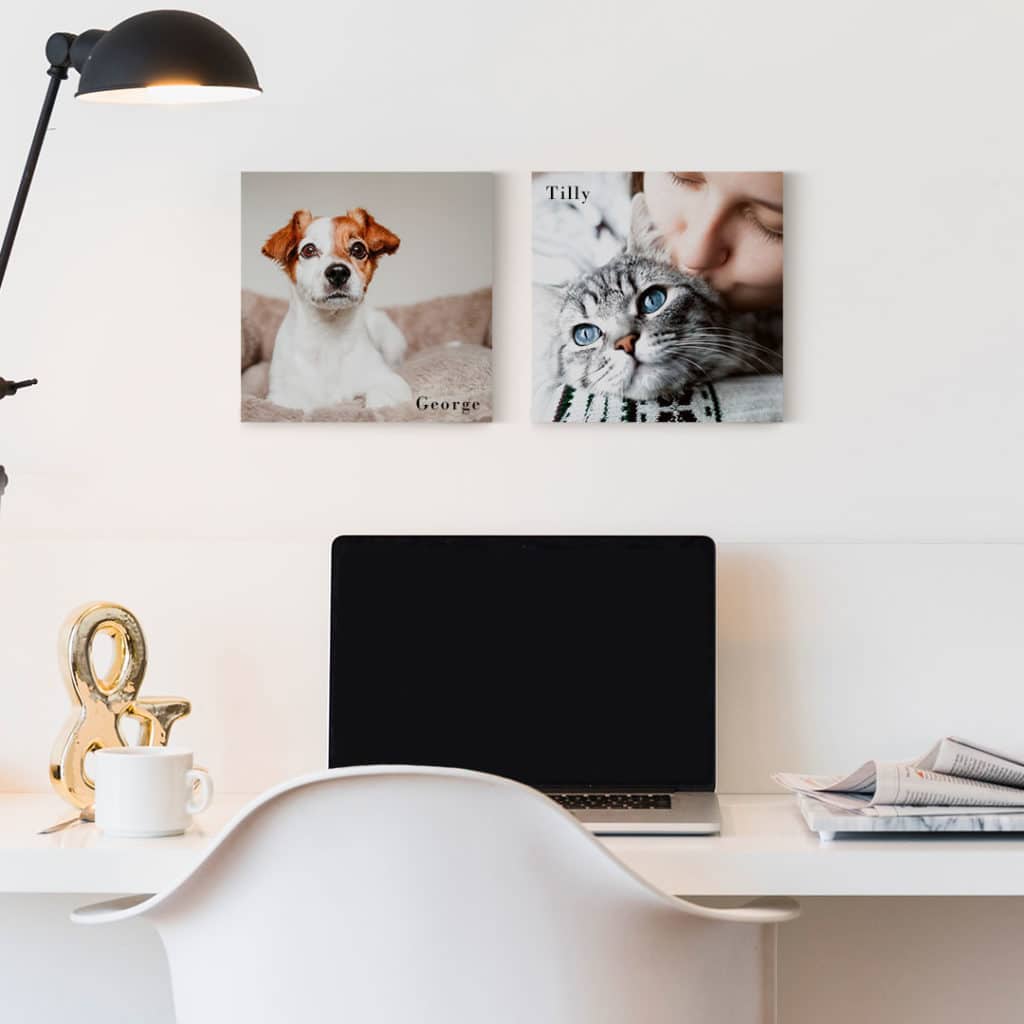
If you only have a couple of photos, a simple gallery wall is best. Place these above your desk or bed to add the perfect amount of personalisation to any space. The best part is that it only takes about five minutes to complete.
Which photo tile layout will you pick to give your walls a quick and easy style update? Be sure to share it with us on social media! You can tag us with @snapfishie in your photos on Instagram or Facebook or use the hashtag #snapfishie. Don’t forget to follow us on YouTube and Pinterest, too. Check out the Snapfish site for even more ways to display your best!
